Get the red out: Bleaching hardwood floors
In the era of Instagram-inspired interior design, the desire for neutral hardwood floors has gained immense popularity. Jatoba (also known as Brazlilian cherry), red oak, American cherry and American walnut hardwood floors, while cherished for their natural beauty and durability, often come with the challenge of red undertones. Let’s delve into the transformative technique of wood bleaching, a process that can be entrusted to Fournier Finishing, ensuring a trendy, neutral aesthetic.

A bleached red oak sample.
A red oak board with deep red undertones is bleached and now looks much more like white oak.
The Bleaching Process:
Bleaching hardwood floors is not for the faint of heart. We’ve learned how to do this the hard way - through trial and error. Here’s how we’ll take the red out of your hardwood floors:
Surface Preparation: The floors are thoroughly sanded. This step removes existing finishes or coatings, opening up the wood's pores for optimal bleach penetration. The floors must be sanded very meticulously, as touching up sanding scratches later on might result in an uneven appearance. We typically finish things off with a 100 and 120 grit.
Customized Wood Bleach Application: Fournier Finishing employs a custom wood bleach formulation tailored to the specific characteristics of your jatoba or red oak floors. This blend of oxalic acid and hydrogen peroxide is applied with precision, ensuring an even distribution across the surface. The wood bleach is caustic, which requires extra attention and protective eyewear and clothing.
Monitoring and Expertise: We closely monitor the bleaching process, paying attention to the optimal reaction time. This personalized approach ensures a controlled and predictable outcome, with factors like wood type and red undertones influencing the duration of the application. A second application may be necessary.
Neutralization and Rinsing: Sometimes it is required to neutralize the floor bleach as it is caustic. Following the desired lightening effect, we thoroughly wash the floor with a mild vinegar solution.
Stain: Before we apply the clear coats, consider applying white, grey, or beige stains to further customize the color of your hardwood floors. This additional step allows for a more personalized touch, aligning the final result with your specific design preferences.
Seal and Protect: To finalize the transformation, we apply a high-quality clear sealer that protects the newly bleached hardwood floors. This crucial step preserves the achieved color and ensures long-lasting results. Usually, a non-ambering water based finish is applied. Satin and matte finishes really look good on lighter colored floors. A UV protector protector can be added to slow the effects of sun damage. Visit https://www.loba.de/ca_en/products/finishing-hardwood-floors-and-more/additives/uv-protect for more information. Another great additive for the finishes we prefer is whitener. To further enhance a nordic or white appearance on your hardwood floors, Loba has introduced a product that intensifies white. https://www.loba.de/ca_en/products/finishing-hardwood-floors-and-more/additives/whitener These additives are about $25 per bottle and just need to be added to a gallon of finish. Each gallon covers approximately 500 square feet.

Jatoba will develop dark red colors over time.
Before the bleaching process began, this Brazilian cherry loor was thoroughly sanded.
For those who seek the redemption of red undertones, Fournier Finishing stands ready to transform jatoba, red oak and walnut floors, achieving a neutral hardwood aesthetic that seamlessly blends with the ever-evolving landscape of interior design trends.
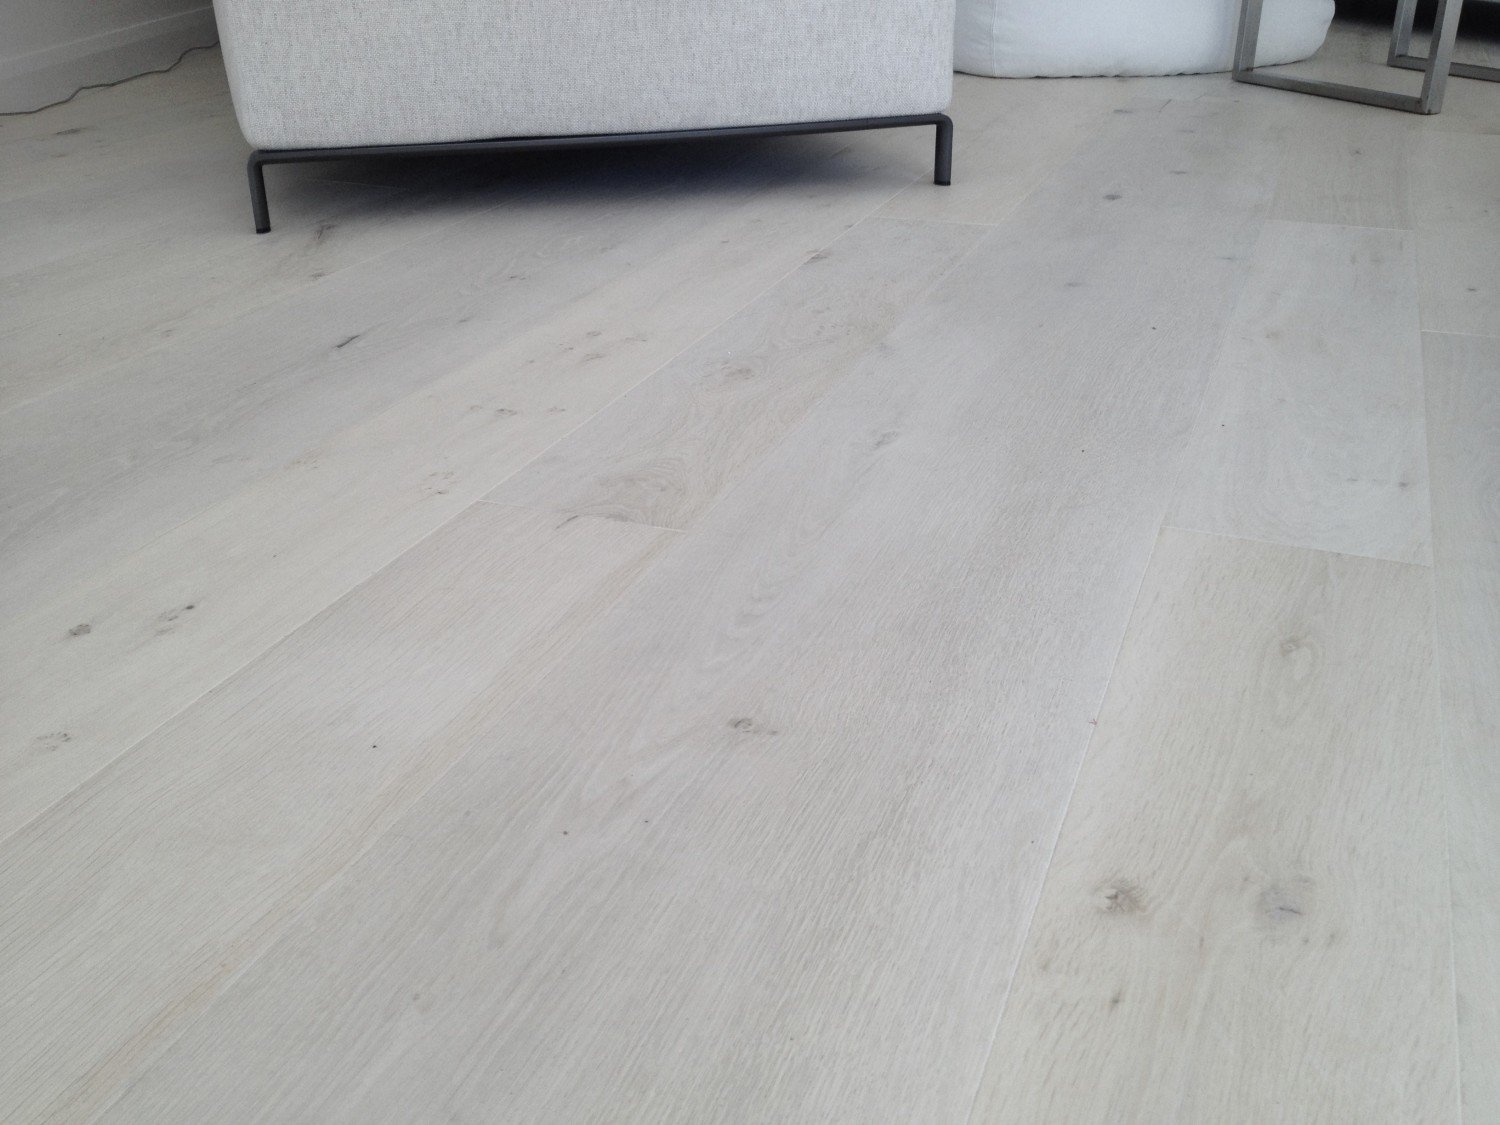
A bleached jatoba hardwood floor.
This Brazilian cherry floor was bleached multiple times to achieve a whitewashed appearance.